Deploying Java(Spring Boot) Application on AWS for free.
Step - 1
If you have an AWS account then you can login to AWS Console from AWS - Sign in
OR
Else you can create a free account at AWS Console - SignUp
SignUp process is very easy and takes very less time:
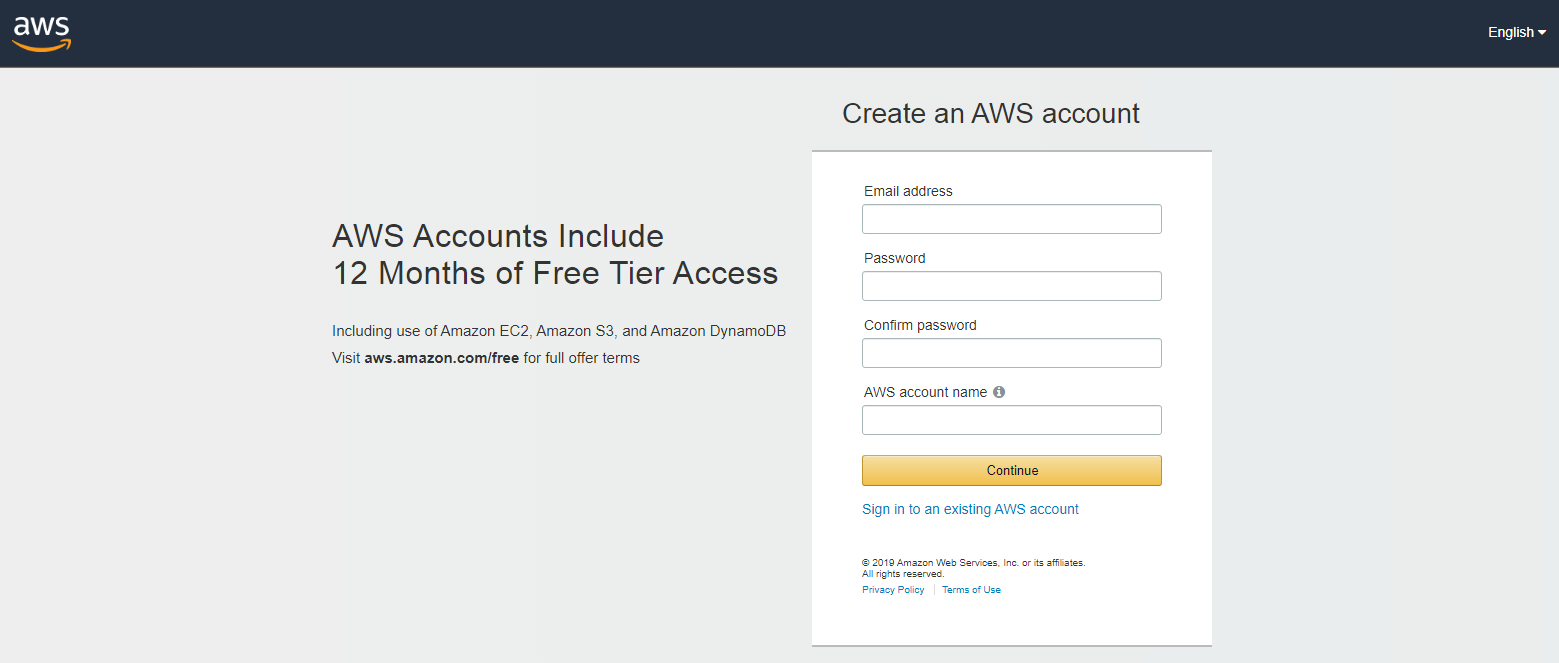 |
| SignUp Form |
Step - 2
Once login successful, you will be redirected to the AWS Management Console
Now you first need to go to the Services menu at top and select EC2
 |
| AWS Management Console |
You will be redirected to EC2 Management Console
 |
| EC2 Management Console |
Step - 3
Now you will need to Click Instances menu available in left panel. You will get -

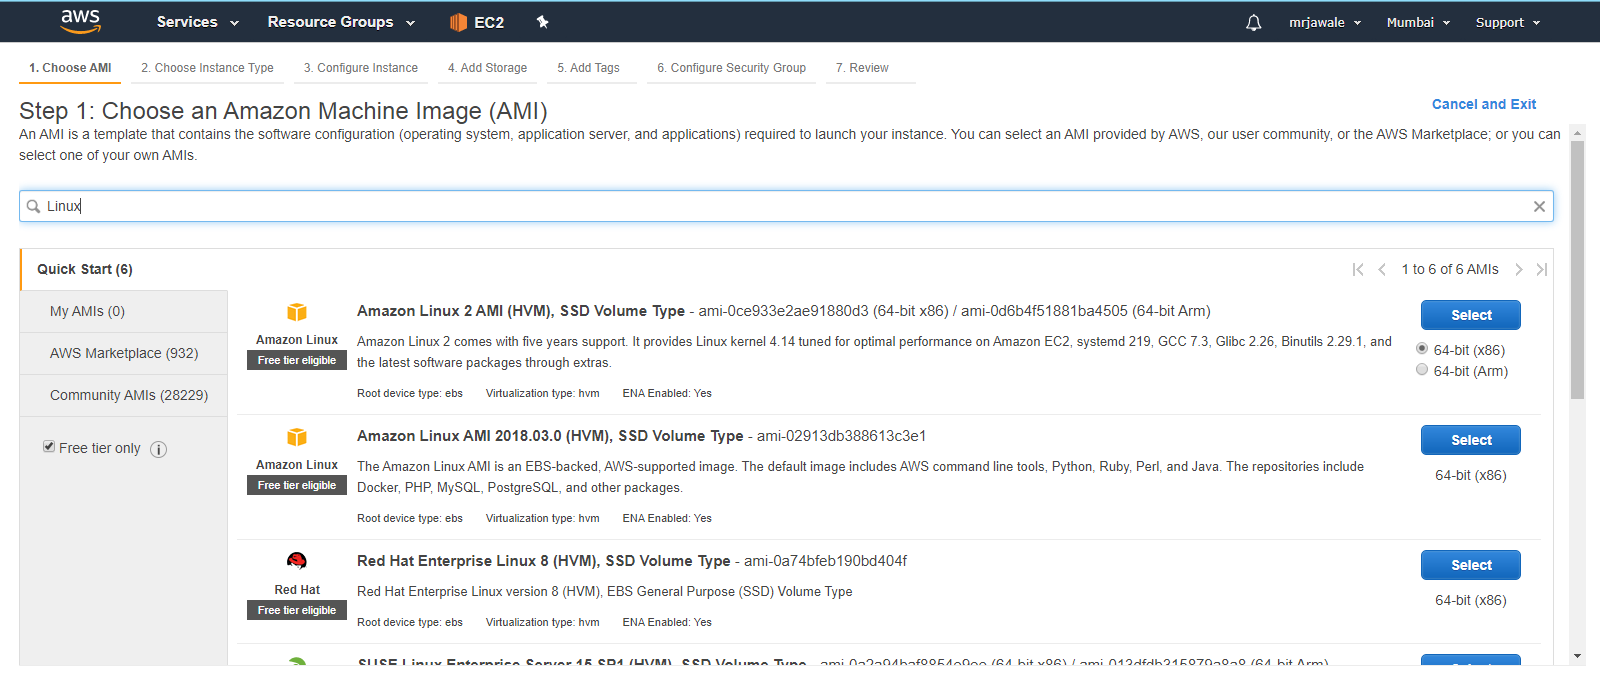
Click on Launch Instance and you will be redirected to the New Instance Wizard

You can search for Linux or Ubuntu Amazon Machine Image (AMI) and select Free Tier Only in left panel.
After search result appears choose required AMI from listing.
I have selected:- Ubuntu Server 18.04 LTS (HVM)
After clicking Next below screen will appear:-


Installing MySQL ->
sudo apt install mysql-server
Check server status:-
sudo netstat -tap | grep mysql
Start server:-
sudo systemctl restart mysql.service
Create user for mysql:-
root@something.com> mysql
mysql> GRANT ALL PRIVILEGES ON *.* TO 'myuser'@'localhost' IDENTIFIED BY 'root';
mysql> FLUSH PRIVILEGES;
mysql> \q;
root@something.com> mysql -u myuser -p
Upload jar files:-
OR
Using Git Bash->
scp -i FirstInstance.pem MyApplication.jar ubuntu@IP-Address:~/home/Jars/
Start Application:-
sudo java -jar /home/Jars/MyApplication.jar
OR
To run jar in background:-
nohup java -jar /home/Jars/MyApplication.jar &


Click on Launch Instance and you will be redirected to the New Instance Wizard
You can search for Linux or Ubuntu Amazon Machine Image (AMI) and select Free Tier Only in left panel.
After search result appears choose required AMI from listing.
I have selected:- Ubuntu Server 18.04 LTS (HVM)
After clicking Next below screen will appear:-

Step - 4
Select Instance Type as per Need (Free for testing) and click Review and Launch button.
Here you can review your selections and settings and then click on Launch button.

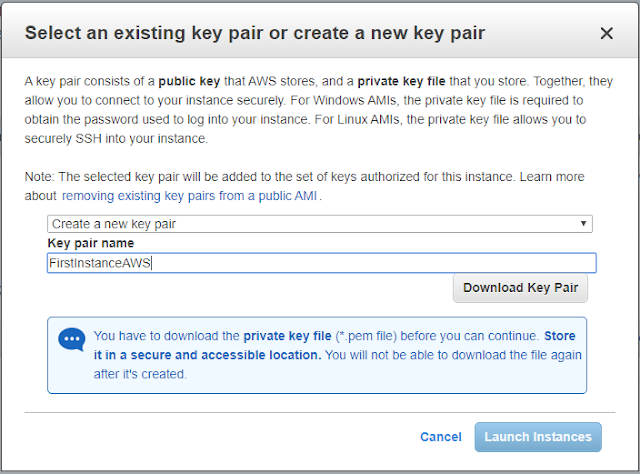
You will be prompted to select existing Key or Create new key as follows.
If you chose to create new then give name for that.
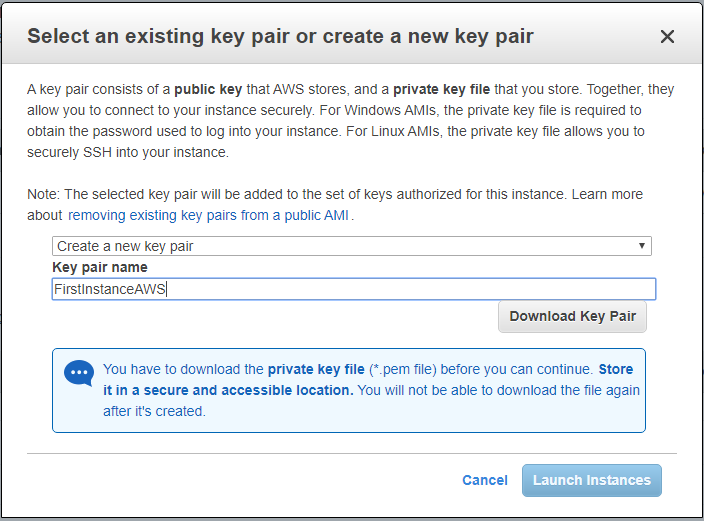
The most IMP part is you have to Download Key Pair before launching instance because you will not get this .pem Key file ever after this step.
Step - 5
Once the instance is launched you can make operations on the instance as per need.

Public DNS (IPv4) & IPv4 Public IP these two are the important things you will need frequently.
Step - 6
You can connect to the AWS Console Command Prompt using GitBash prompt if you have it on your system, or using PuTTY application. For PuTTY steps you can follow - PuTTY Configuration
For Git Bash you can use following command:-
Note: Goto the directory where .pem file is located and give it's name in below command.
ssh -i "FirstInstanceAWS.pem" ubuntu@IPv4PublicIP
Following are the user names for different instances:-
- For Amazon Linux 2 or the Amazon Linux AMI, the user name is ec2-user.
- For a CentOS AMI, the user name is centos.
- For a Debian AMI, the user name is admin or root.
- For a Fedora AMI, the user name is ec2-user or fedora.
- For a RHEL AMI, the user name is ec2-user or root.
- For a SUSE AMI, the user name is ec2-user or root.
- For an Ubuntu AMI, the user name is ubuntu.
- Otherwise, if ec2-user and root don't work, check with the AMI provider.
Step - 7
Installing JRE follow below steps:-
- sudo apt-get update
- sudo apt-get install openjdk-8-jre
- echo "JAVA_HOME=$(which java)" | sudo tee -a /etc/environment
- source /etc/environment
- echo $JAVA_HOME
Step - 8
Installing MySQL ->
sudo apt install mysql-server
Check server status:-
sudo netstat -tap | grep mysql
Start server:-
sudo systemctl restart mysql.service
Step - 9
root@something.com> mysql
mysql> GRANT ALL PRIVILEGES ON *.* TO 'myuser'@'localhost' IDENTIFIED BY 'root';
mysql> FLUSH PRIVILEGES;
mysql> \q;
root@something.com> mysql -u myuser -p
Step - 10
- Open FileZilla
- create new site
- add Public ip provided in aws console (Public DNS (IPv4)
- select SFTP
- select key file
- connect
OR
Using Git Bash->
scp -i FirstInstance.pem MyApplication.jar ubuntu@IP-Address:~/home/Jars/
Step - 11
sudo java -jar /home/Jars/MyApplication.jar
OR
To run jar in background:-
nohup java -jar /home/Jars/MyApplication.jar &
Step - 12
Some other stuffs:-
1. To check logs:
tail -f nohup.out
2. To check tomcat process
ps -ef | grep tomcat
3. To kill process
kill -9 ProcessId
4. Change folder access rights to full access:-
chmod 777 -R /home/Jars
Step - 13
Most important part is to allow ports to be accessed from public networks:-
- Goto instance
- Security groups
- [Inbound tab]
- [Edit]
- Type - Custom TCP Rule
- Protocol - TCP
- Port Range - Whatever you need e.g. 8080 or 80
- Source - Anywhere
- [Save]

Step - 14
Its done. You can now simply access your application using Public IPv4 and provided port.
Comments
Post a Comment